From DICOM to Interactive 3D: A Practical Guide for Researchers
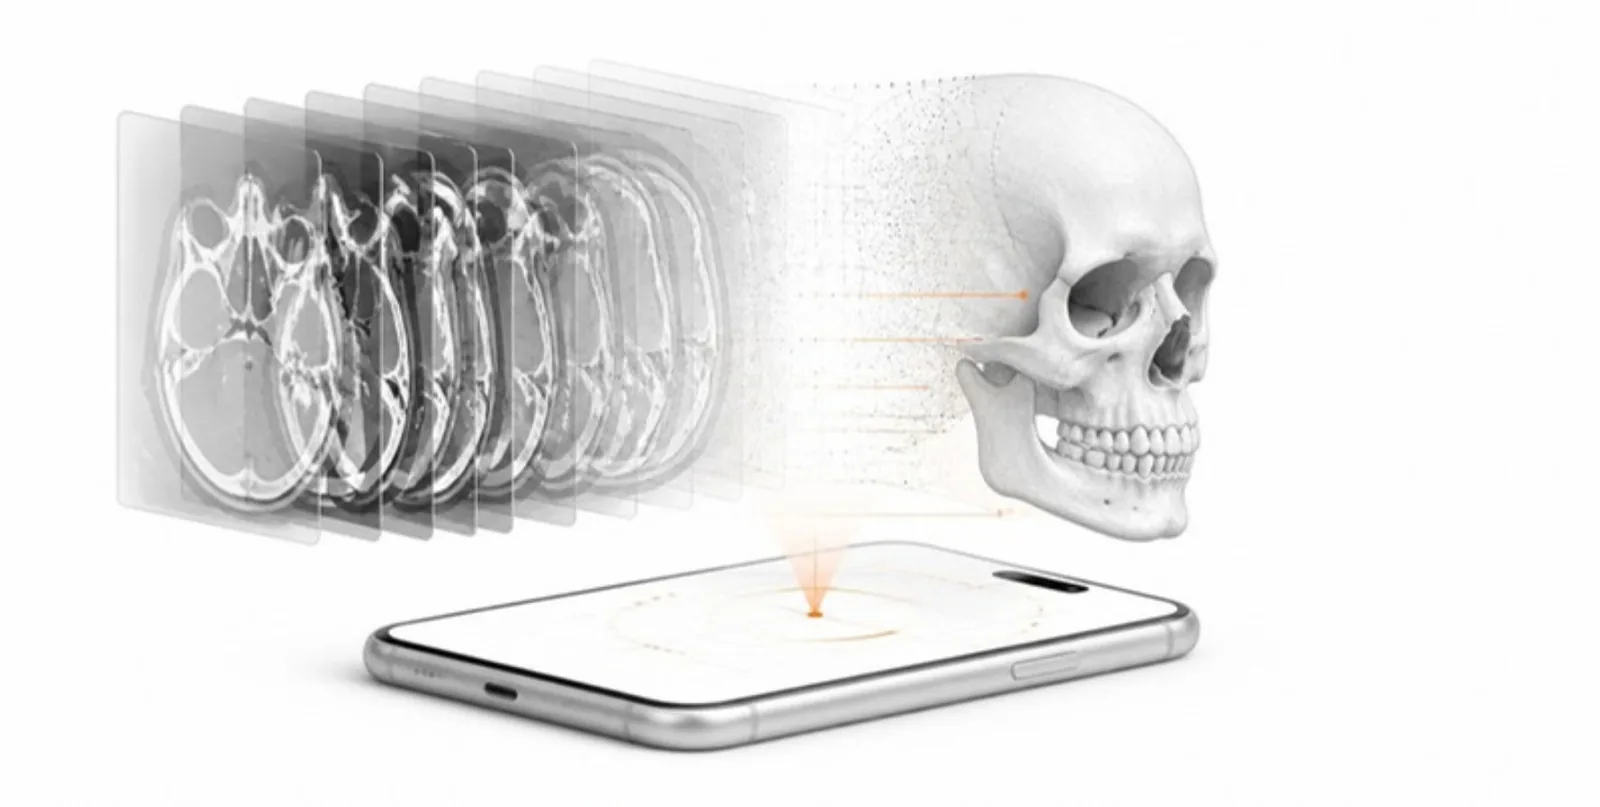
Most medical 3D work starts in the same place: a stack of DICOM images from a CT or MRI scanner. Turning that stack into something a reader can rotate, cut open, and place on the desk in augmented reality used to take a segmentation workstation, a mesh editor, and a web developer. Here is how to do it in one upload — and what to think about before you press the button.
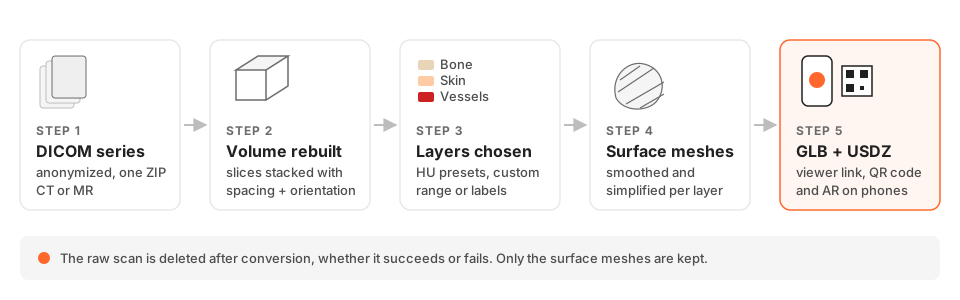 From an anonymized DICOM series to a GLB + USDZ model. The raw scan is deleted after conversion.
What a DICOM series actually is
A scan is not one file. It is a series of 2D slices, each a separate DICOM file carrying pixel data plus metadata: slice position, pixel spacing, orientation, and — importantly — patient identifiers. To rebuild the volume correctly, the converter needs every slice of the series together, so you upload them as a single ZIP.
AcademicAR reads uncompressed series as well as the common compressed transfer syntaxes (JPEG Lossless, JPEG-LS, JPEG 2000, and RLE), so exports straight from a PACS or a research archive usually work as they are.
Step 1: Anonymize before you export
The rule is simple: remove patient identifiers before the data leaves your institution. Use your hospital’s de-identification workflow or a tool such as the anonymizer in your DICOM viewer, and follow your ethics approval. AcademicAR asks you to confirm anonymization, rights, and ethics responsibility on every upload, and medical uploads carry an extra confirmation on top of that.
Two further safeguards are built in:
- The raw scan is deleted after conversion — whether the conversion succeeds or fails. Only the resulting surface mesh is kept.
- Medical uploads are never archived or mirrored as source files, and patient identifiers are never written to logs.
Step 2: Choose what to extract
A volume becomes a 3D model by deciding which voxels belong to a structure. For CT you can pick one or more threshold presets:
| Preset | What it keeps | Works for |
|---|---|---|
| Bone | Dense tissue, 250 HU and above | CT |
| Skin | The outer body surface, -300 HU and above | CT |
| Contrast vessels | Contrast-filled vessels, 150 HU and above | Contrast CT |
| Auto threshold | An automatic (Otsu) split into two intensity classes | CT and MR |
| Custom range | Your own minimum (and optional maximum) in HU | CT |
Each preset you select becomes its own layer in the viewer, with its own colour. If the presets aren’t precise enough — for example, you need individual organs — segment the scan first and upload the segmentation instead (see our guide to sharing segmentations).
Step 3: Let the worker do the heavy lifting
Conversion runs in a background worker, not in your browser. It rebuilds the volume, extracts a surface for each layer, smooths and decimates it to a size that renders well on a phone, and produces a web-optimized GLB plus a USDZ for iPhone and iPad AR. You can watch the progress on the model page.
Step 4: Explore and share
The finished model opens in the viewer with a Layers panel (show, hide, fade, or recolour bone, skin, and vessels independently), a section plane to cut through it, and a 2D slice view that shows the cut in the familiar axial, coronal, and sagittal conventions. Share it with a stable link or QR code in your paper, poster, or lecture slides.
A note on scope
These models are for research communication and education. They are surface reconstructions, not diagnostic images, and they should not be used for clinical decisions.
Create a free account and turn your next anonymized scan into an interactive figure.