Saved Scenes and Guided Tours: Teaching with 3D Models Step by Step
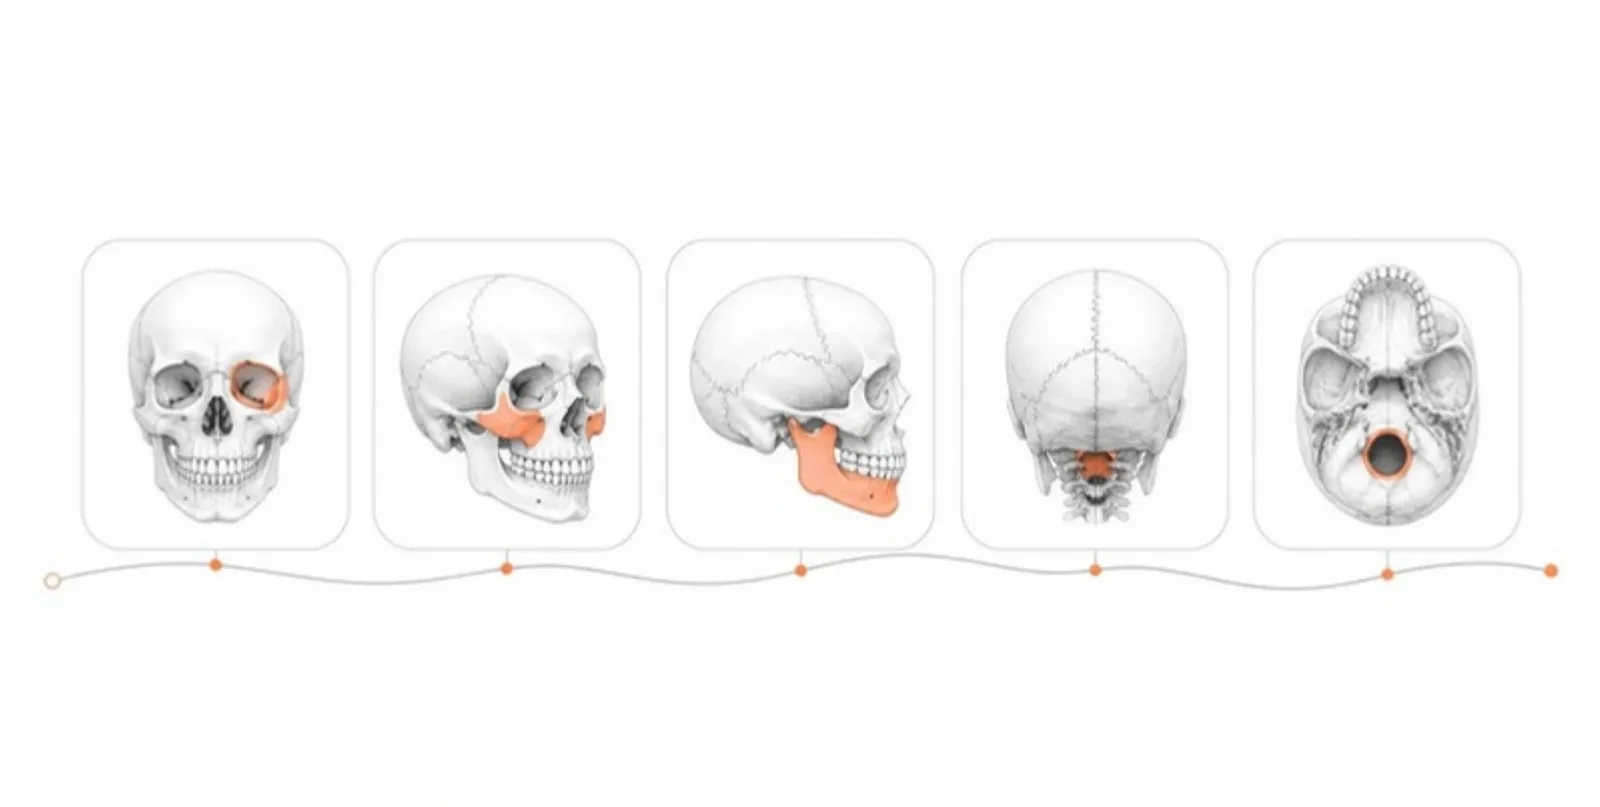
A free-to-explore 3D model is wonderful for curious readers and overwhelming for students on their first encounter. Good teaching sequences attention: first this, then that, now look inside. Scenes bring that sequence to a 3D model.
What a scene stores
A scene is a saved view of a model. It captures:
- the camera position and orientation,
- which layers are visible, their colours and transparency,
- the section cut, if one is active,
- the background, orientation, and lighting.
You can save up to 12 scenes per model and give each a name, such as “1. Skull — lateral view”, “2. Remove the mandible”, or “3. Axial cut at the orbits”.
Share a scene on its own
Each scene has its own link and QR code. Put scene 3’s QR code next to the paragraph that discusses it, on the slide where you need it, or on the exam handout. Readers land exactly on the view you prepared — with the right layers visible and the right cut in place — and can then explore freely from there.
Play it as a tour
The tour plays your scenes in order, moving smoothly from one to the next. In a lecture it replaces a series of static screenshots with one live model; for self-study, students step through the sequence at their own pace.
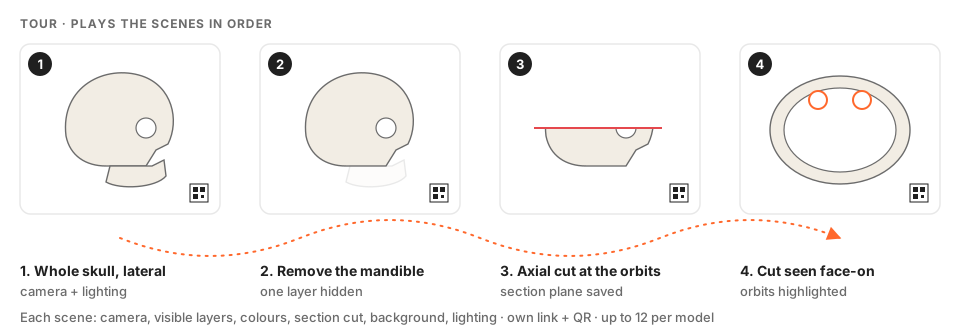 A tour plays saved scenes in order; each scene also has its own link and QR code.
Scenes in AR
A scene can also be opened in AR with only its visible layers, its colours, and its section cut, so a student placing “the heart, opened at the four-chamber plane” on their desk sees exactly that — not the whole model.
Example sequences
Anatomy: whole thorax, then hide the ribs, then the lungs faded, then a coronal cut through the heart, then an isolated vessel tree.
Engineering: closed gearbox, then housing hidden, then a section through the shaft, then a close-up of the bearing seat.
Architecture: exterior massing, then façade faded, then a plan cut on each floor, then a longitudinal section.
Tips for good tours
- One idea per scene. If a scene needs two sentences to explain, split it.
- Change one thing at a time — a layer, a cut, or the camera — so students follow what changed.
- Number scene names so the order is obvious when shared individually.
- Pair each scene with a question in your handout: “What structure lies directly anterior to …?”
Create your first tour on any model you have uploaded.