Hounsfield Units Explained: Choosing CT Thresholds for 3D Models
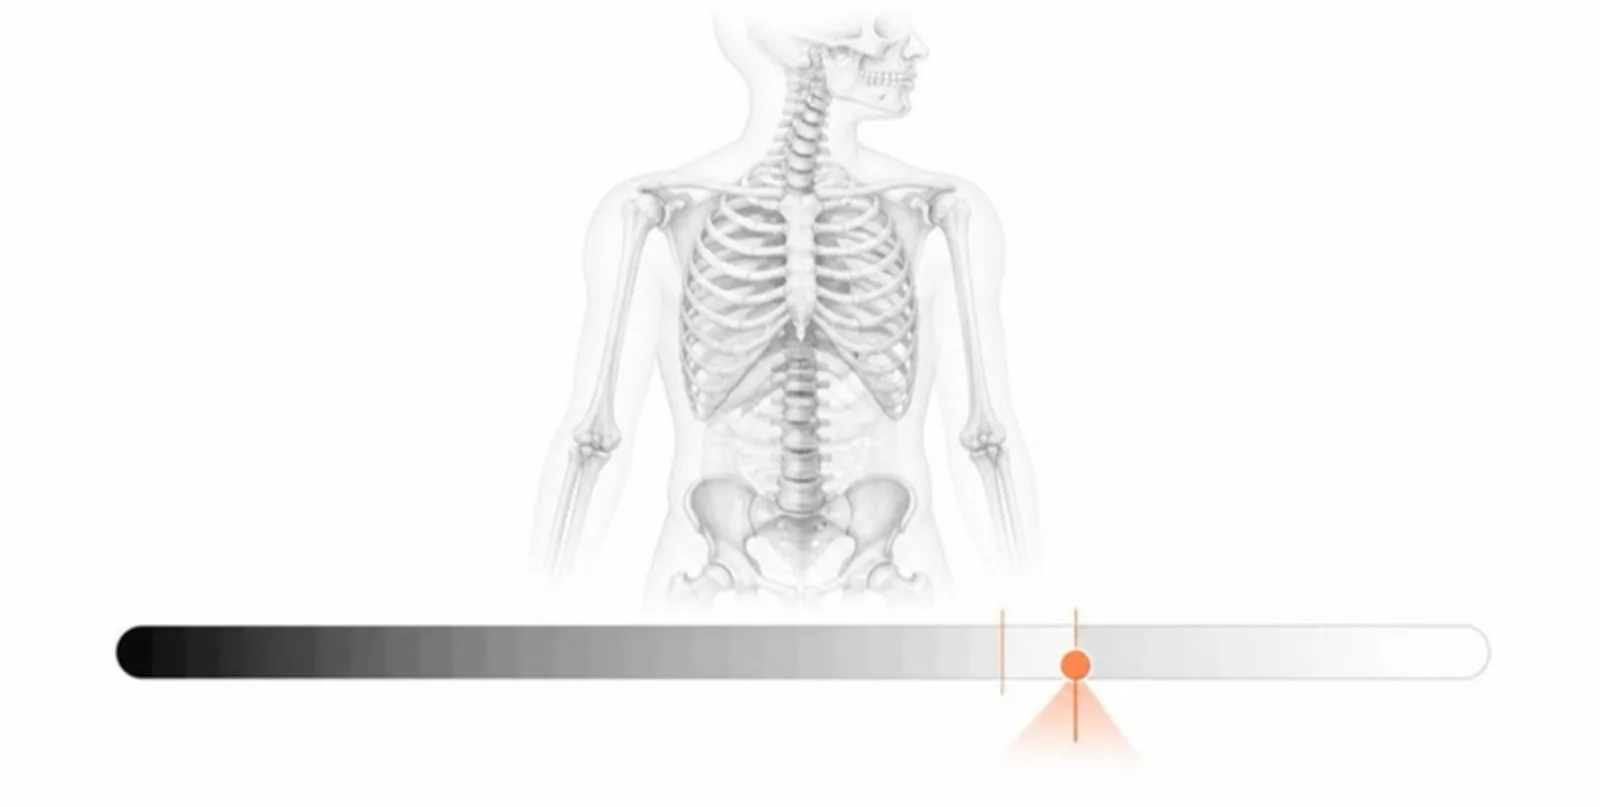
When you turn a CT scan into a 3D model, one number decides almost everything about the result: the threshold. Set it too low and the bone model is buried in soft tissue; set it too high and thin structures disappear. Understanding Hounsfield units makes that choice predictable instead of trial and error.
What a Hounsfield unit is
CT measures how strongly each voxel attenuates X-rays and rescales it to a standard scale, the Hounsfield unit (HU):
- Air is about -1000 HU.
- Water is 0 HU by definition.
- Fat sits around -100 HU, most soft tissue between +20 and +80 HU.
- Contrast-enhanced blood often reaches 150-400 HU.
- Cortical bone ranges from a few hundred to well over 1000 HU.
Because the scale is calibrated, the same threshold means roughly the same tissue across scanners — which is what makes presets possible. MRI, by contrast, has no absolute intensity scale, so HU thresholds do not apply to it.
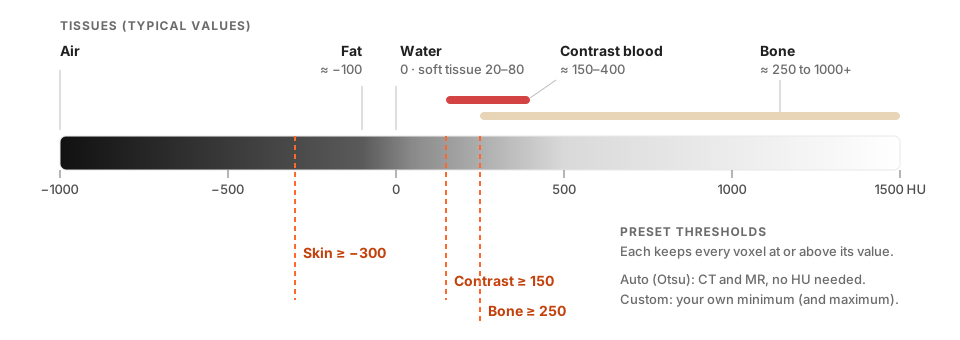 Typical tissue values on the Hounsfield scale, and where the CT presets cut.
The presets, and why they sit where they do
- Bone (250 HU and above). High enough to exclude soft tissue and most contrast, low enough to keep thinner cortical bone. Good for skulls, spines, pelvises, and fracture morphology.
- Skin (-300 HU and above). Everything denser than air counts as “body”; only the largest connected piece is kept, so the table and stray noise drop out. Useful for facial and body-surface models.
- Contrast vessels (150 HU and above). Captures contrast-filled vessels — but bone is just as bright, so a threshold alone cannot separate them. If you also select Bone, bone is subtracted from the vessel layer so the two layers do not overlap.
- Auto threshold (Otsu). Splits the volume into two intensity classes automatically. It is the only preset that makes sense for MR, and a quick first look for unfamiliar CT data.
When to use a custom range
Presets cover the common cases; research questions often don’t. A custom HU range lets you set your own minimum and, optionally, a maximum — for instance a band that isolates dense calcifications, a bone-density window for a specific specimen, or a soft-tissue band in a contrast study. Each range becomes its own coloured layer, so you can compare bands side by side in the viewer.
Practical tips
- Start broad, then narrow. Run one preset, inspect it with the section plane, then refine with a custom range.
- Watch thin structures. Orbital walls, nasal turbinates, and small vessels are partial-volume voxels; a slightly lower threshold keeps them.
- Metal artefacts from implants show up as streaks at very high HU — a maximum in your custom range can trim them.
- Need organs, not densities? Thresholds separate densities, not anatomy. Segment first and upload the segmentation for organ-level layers.
Upload an anonymized CT series and try the presets on your own data.